How to accept online payments directly through your order form?
"How to add payment gateway in google form for Event registration ?"- Google Docs Editors Community
This is a common question from small businesses and workshop hosts using Google Forms and 674 people on Google's forum have asked it. For example, if you run a paid workshop, you need the money as soon as people sign up. Google Forms cannot take payment. A payment link in the confirmation message is easy to ignore, so you chase people for the money and match each payment to a name by hand. With Neartail, you can enable payment with Stripe in your form. Each person goes to a card payment page as soon as they submit. Even better, Neartail charges no commission, so you only pay Stripe's fee and you can see who paid in Google Sheets.
Let's start. Create your order form and follow the steps below.
How to enable payments in order forms?
- On the page that opens, click "Enter your form name". Type your form's name, click Generate and wait about a minute.
- Check the outline it suggests and click Proceed.
- Once you create the form, you will land on the form's "Edit" tab. If it asks "Do you want to preview this form?", click No.

- Your form comes with products, an Order Amount question that adds up by itself and an Order Quantity question. Click on each product and check its name and price, because a generated product can have no name and a price of 0.
- Your prices use the currency of your browser's location. To use another one, click on the ⚙️ icon in the last After page row above the Submit button, change Currency and click on Save
- Click on Enable under Payments disabled
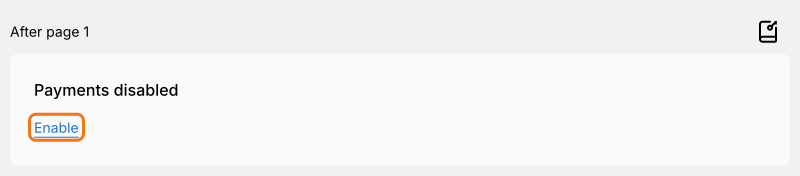
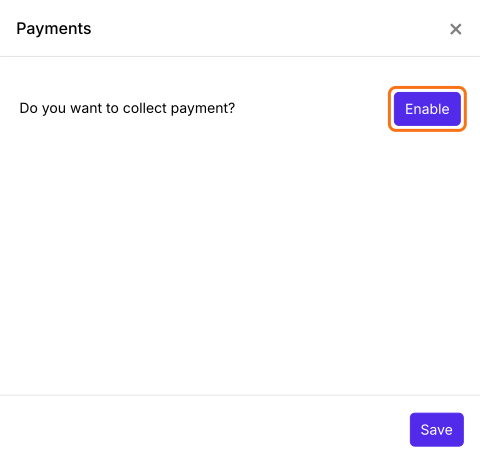
- A Payments panel opens. Click on the Enable button next to Do you want to collect payment
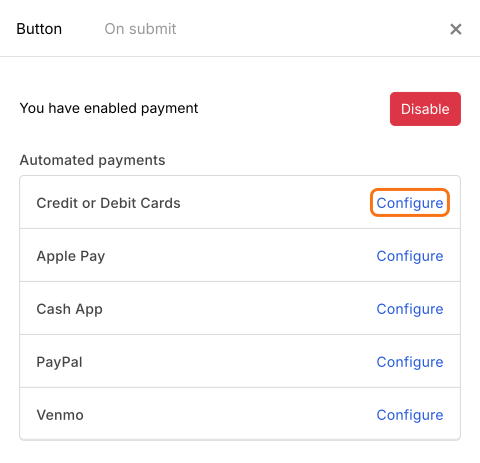
- Payments settings screen will be displayed. Click on Configure next to Credit or Debit Cards
- Stripe connect page will be displayed. If you have an existing Stripe account, you can login with your email address to connect it with Neartail. Otherwise, you can create a new Stripe account by entering your email address


- Once you have created your Stripe account by entering your email address and password, you will have to enter your mobile number to enable two-step authentication

- You will receive an SMS with a 6 digit verification code. Enter this verification code to confirm your number

- Enter your business details such as registered business address and type of business

- Enter your personal details such as legal name of person, email address, date of birth and phone number

- Enter your business details such as industry, business website and product description

- Select the currency and enter your bank account details to receive payments

- Enter the statement descriptor and shortened descriptor for your business to be displayed on the customer statements

- Review your business and bank account details. Once you have verified it, click on the submit button. You will be redirected back to Neartail

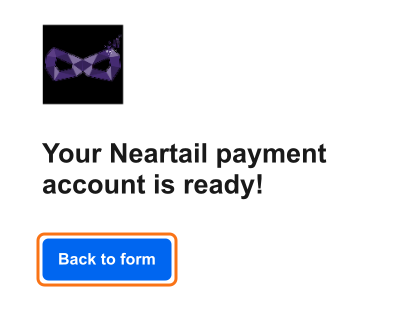
- A confirmation message will be displayed as shown below. Click on the Back to form button to return to your Neartail form
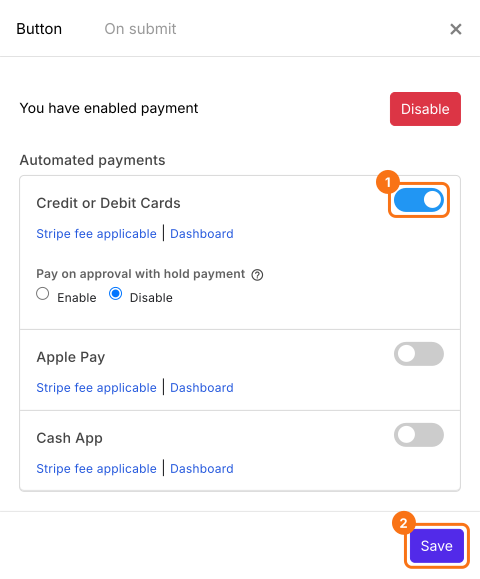
- Click on the toggle button next to Credit or Debit Cards and click on Save
- Click on the Configure key fields icon, the notebook in the last After page row

- Order Amount is already selected in the Get amount from list. Click on Save to complete the payment setup
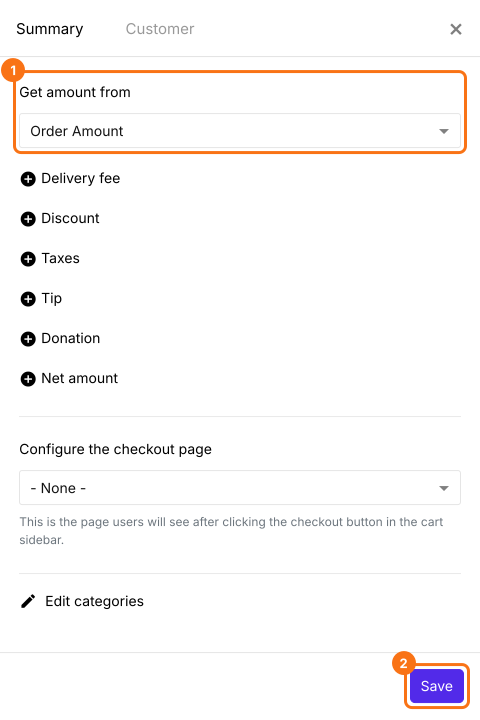
If your form has a Delivery Fee, Tax or Discount, click on Add price field and add a Net Amount too. It shows in the Get net amount from list by itself and your customers pay it. Without it, they pay only the Order Amount.
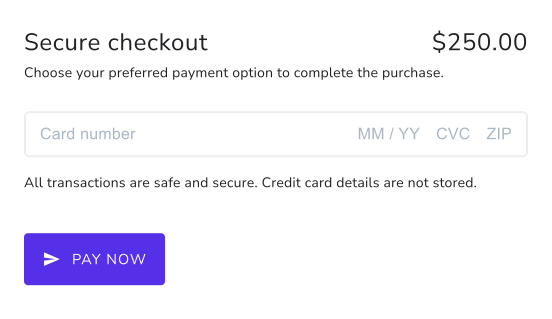
When the customer fills the form and clicks on the submit button, the customer will be redirected to the payment page. The value from the total amount field will be automatically set as the payment amount. Customers can enter their card details and then click on the Pay now button to place their order. If the payment is successful, the confirmation message configured in the On submit tab will be displayed.
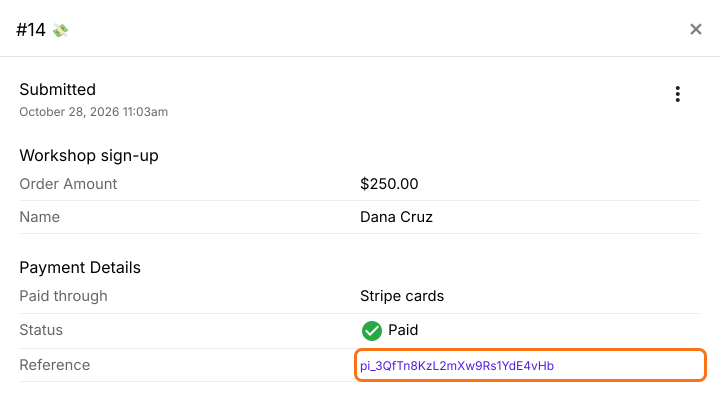
Enabling payment makes it easy to reconcile your payments. You can view the order details along with the transaction id in the Orders page.
Summary
If you run a paid workshop on a Google Form, the form cannot take payment, so you chase people for the money and match each payment to a name by hand. With Neartail, you enable payment with Stripe and each person goes to a card payment page as soon as they submit. Create your order form and complete the steps above. If you have any questions, write to support.
Last updated: